Creating a Project
Projects are the main organising unit in TerraSitu. Each project belongs to a customer and contains one or more sites where fieldwork takes place.
Setting Up a Project
- Go to Projects in the sidebar and click New Project
- Select or create a Customer — the client this work is for
- Enter the Project Name and optional description
- Set the Start Date and End Date (these are calendar dates, not timestamps)
- Choose a Project Timezone — this controls how timestamps are displayed for all users working on this project
- Click Create
Adding Sites
Once your project is created:
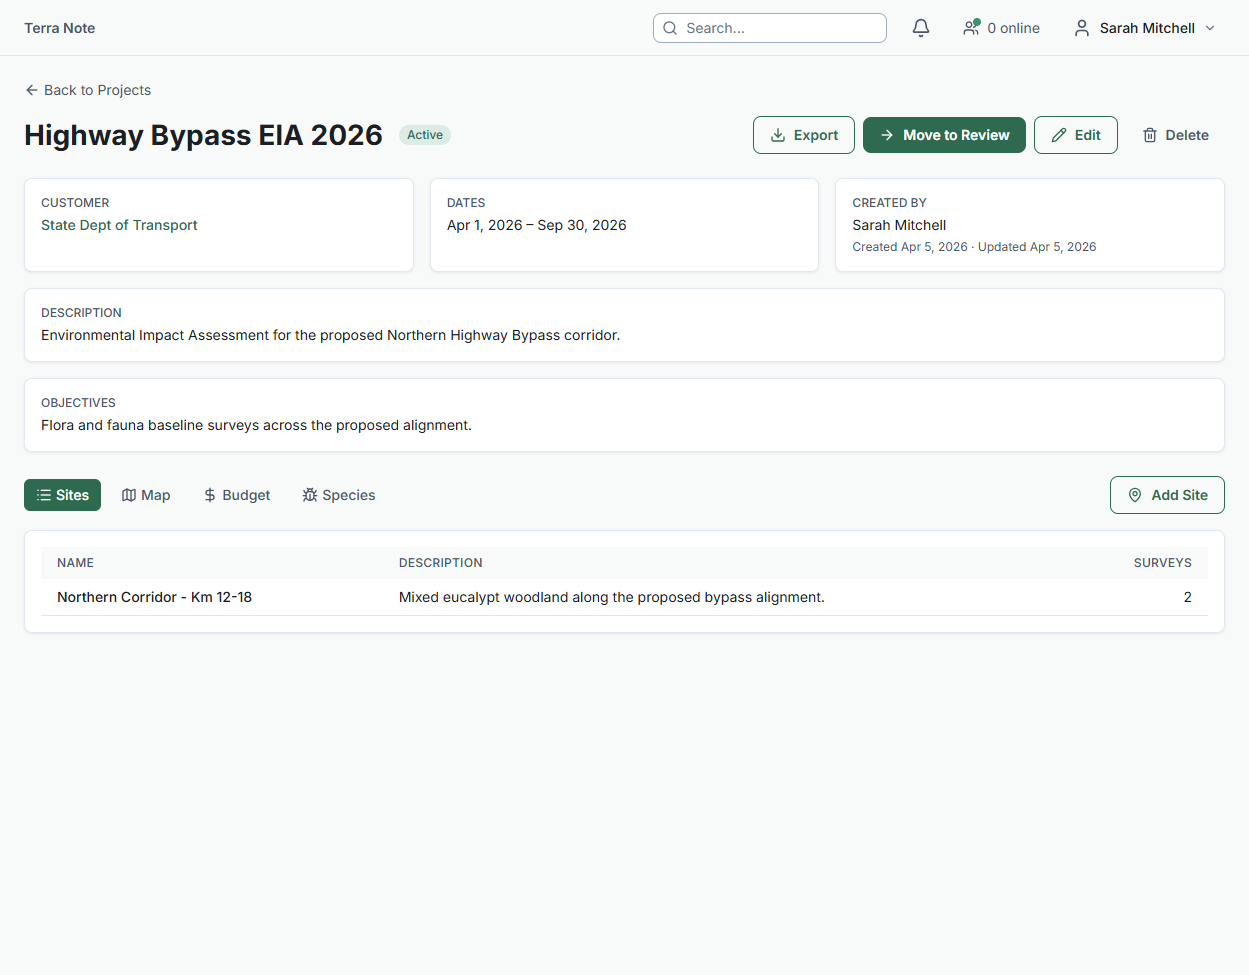
- Open the project detail page
- Click Add Site
- Name the site and optionally draw or import a site boundary
- Upload GIS layers (KML, GeoJSON, Shapefile) to provide spatial context
Importing GIS Data
TerraSitu supports importing spatial data in multiple formats:
- KML / KMZ - Google Earth format
- GeoJSON - Standard web GIS format
- Shapefile (.shp/.dbf/.shx/.prj) - Industry standard
- GML - Geography Markup Language
- GPX - GPS Exchange Format
Upload files from the site detail page under the GIS Layers section. You can preview layers on the map before confirming the import.
Assigning Team Members
From the project detail page, you can assign team members with specific roles:
- Project Lead - Full access to manage the project
- Field Researcher - Can collect data and view project details
- Viewer - Read-only access to project data
Project Settings
- Timezone - Controls display formatting across the project
- Survey Methods - Configure structured survey methodologies (transect, quadrat, etc.)
- Form Templates - Set up data collection forms for your surveys